Marketing → Email Marketing → New Email
How to create and schedule an email campaign
-
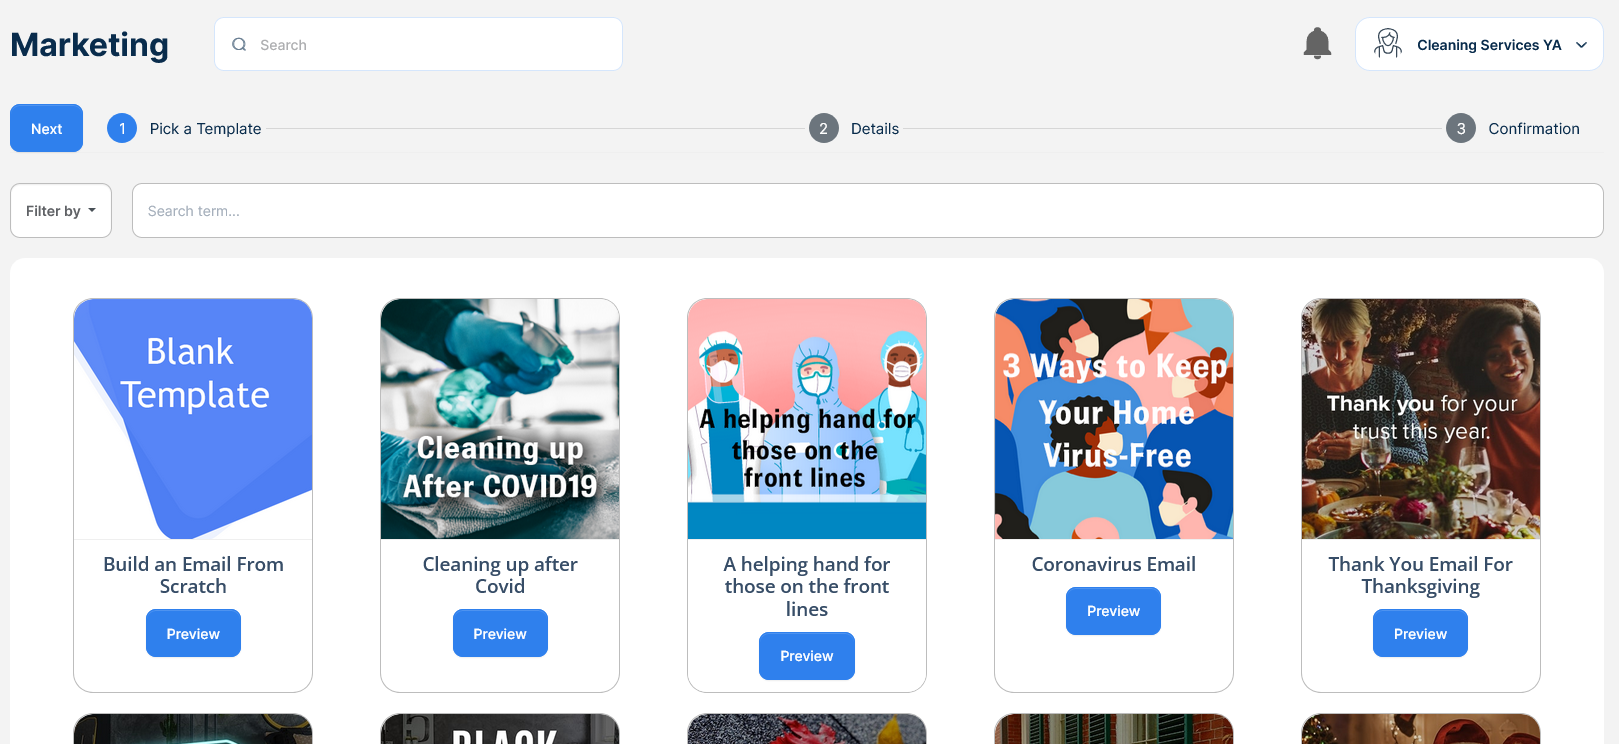
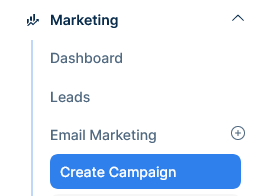
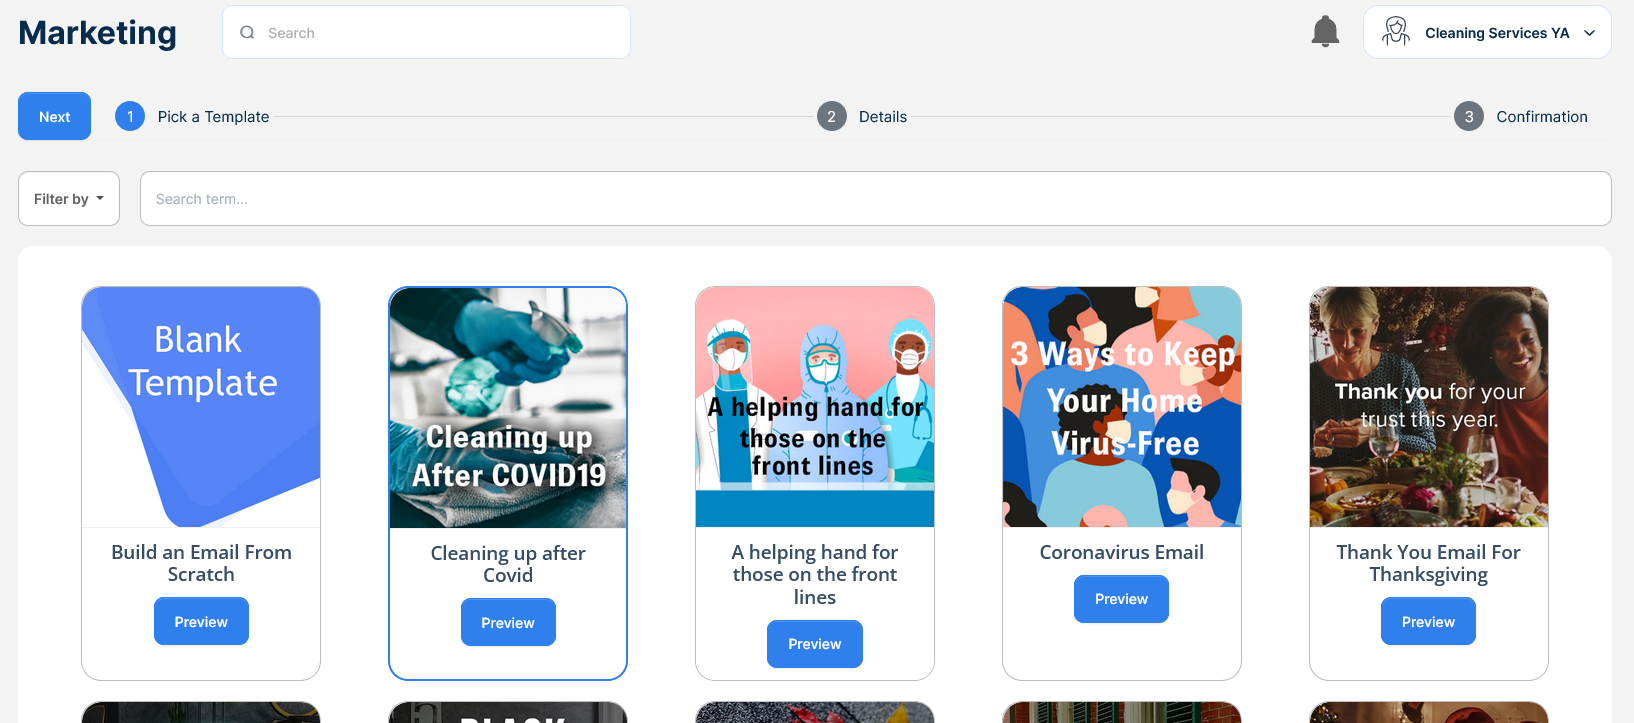
Go to Marketing - >Email Marketing → New Email

-
Select one of the templates available
-
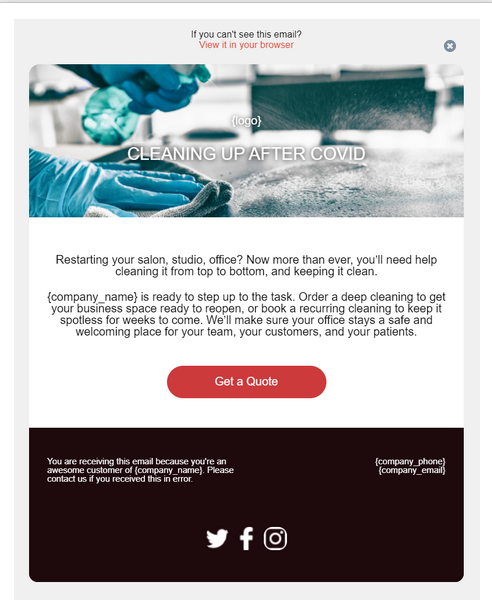
The preview button shows a popup with a snapshot of the email, to close the preview click outside the snapshot
-
Click next to continue

-
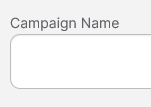
Give the campaign a name
-
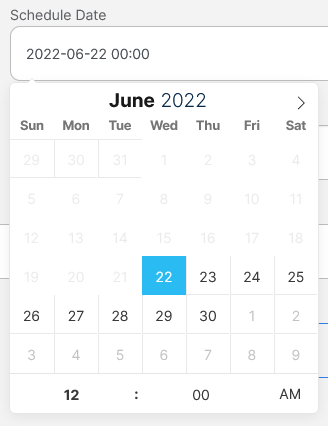
Set the day and time by clicking the Schedule date field

-
Select the new date from the calendar and set the time in the bottom
-
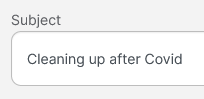
Change the subject or leave it as it is
-
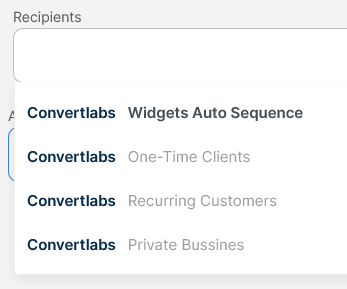
Choose the recipients list
-
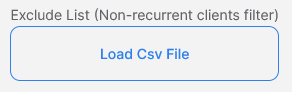
Load a CSV file to exclude certains email addresses
-
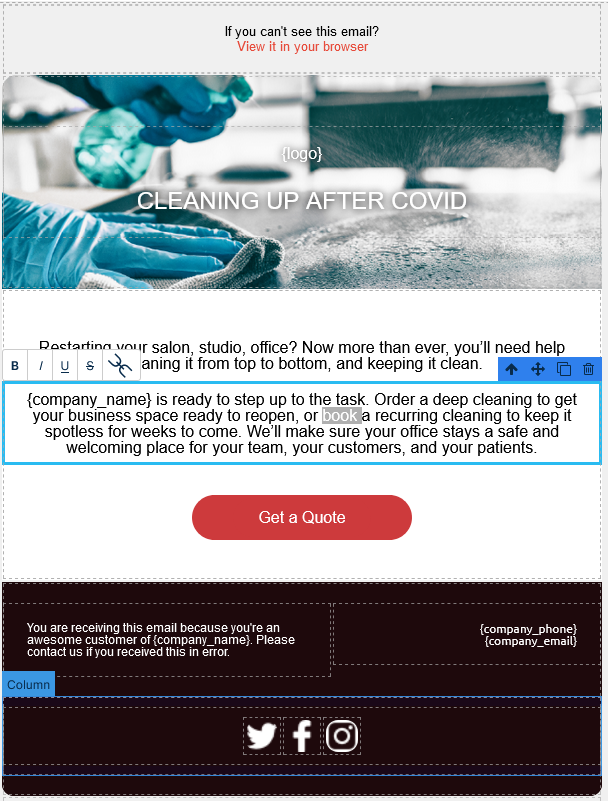
To customize the email click the customize email button, the email editor will appear

-
Double click the section you want to edit
-
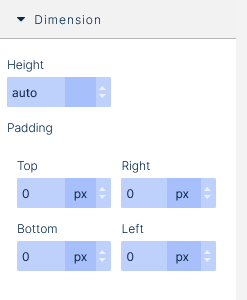
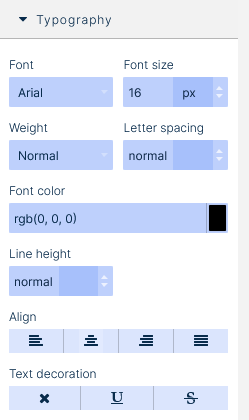
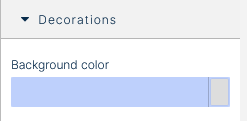
The right panel has more customization options under Dimension, Typography and Decorations
-
The top bar left bar change the layout from desktop to tablet to mobile
-
The top right bar has the standar edit options, from right to left are: Redo, Undo, Import Code, Export Code, Send a Test Email, Save as Draft, Save and finally Close the Editor.

-
When you are done editing the email template click save and then click Close, you’ll be taken back to the previous screen

-
Click next to continue

-
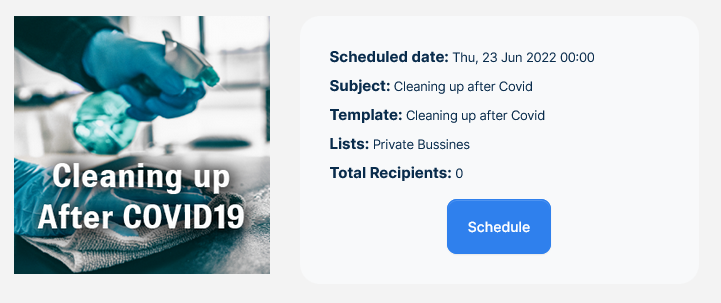
Confirm the details and click Schedule
-
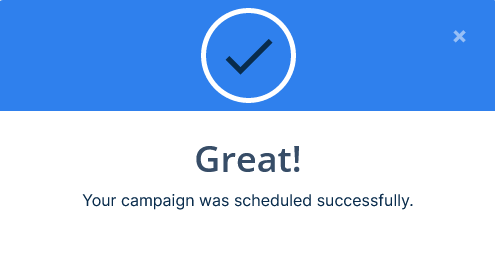
A confirmation message will appear
How to test an email campaign
-
Go to Marketing - > Email Marketing → New Email
-
Select one of the templates available
-
Click next to continue

-
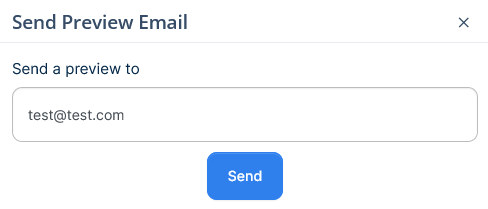
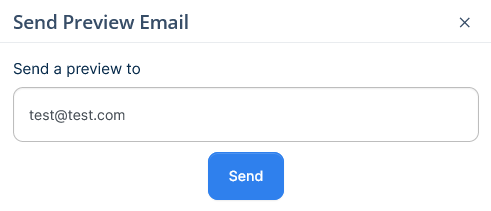
Click Send a preview email, a pop up will appear

-
Enter the email address and click send, then check your email’s inbox, occasionally the test email could end up in the spam folder, so check that as well.
-
Other way to send a test is from the template editor, click on Customize email

-
Click the paper plane icon on the top right

-
Enter the email address and click send