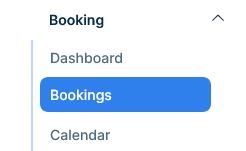
Booking → Bookings
- How to create a booking
- How to filter bookings
- How to sort bookings
- How to change the date and time of a booking
- Booking statuses
- How to charge a card/client/booking
- How to add a team to a booking from the booking list
- How to add a team to a booking from the calendar
- How to remove a team to a booking from the booking list
- How to remove a team to a booking from the calendar
- How to edit a booking
- How to pre-select parameters to the booking form via URL
- How to remind the teams about a booking or bookings
How to create a booking
-
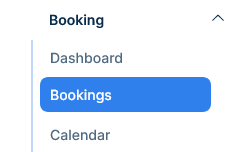
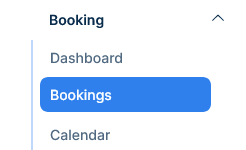
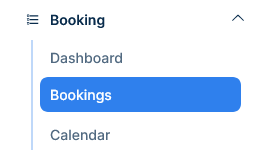
Click on Booking → Bookings
-
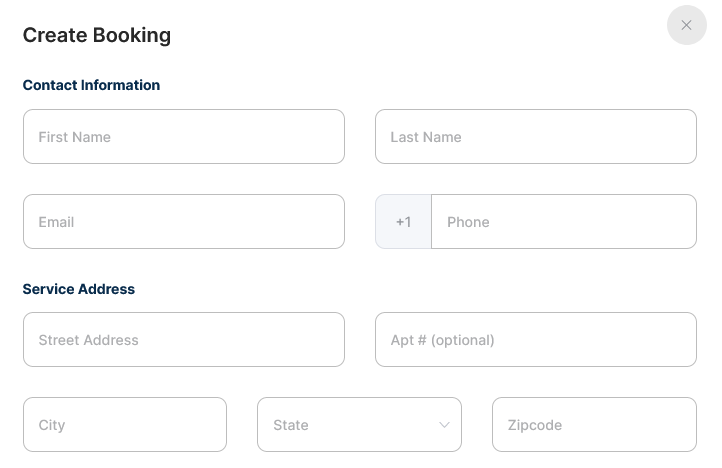
Click on Create Booking

-
Fill the client’s information
-
Add a promo code or gift card if any

-
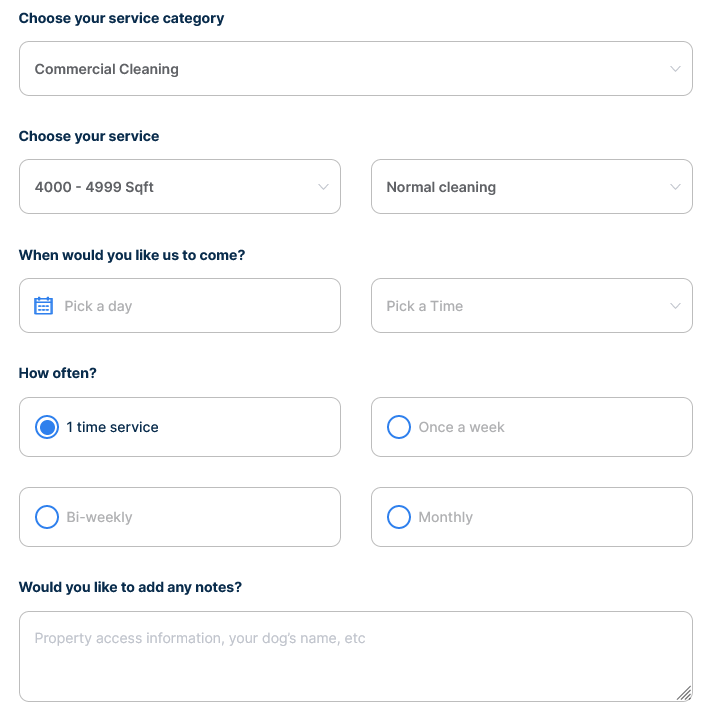
Fill the service details
-
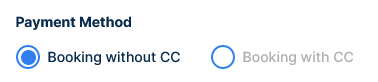
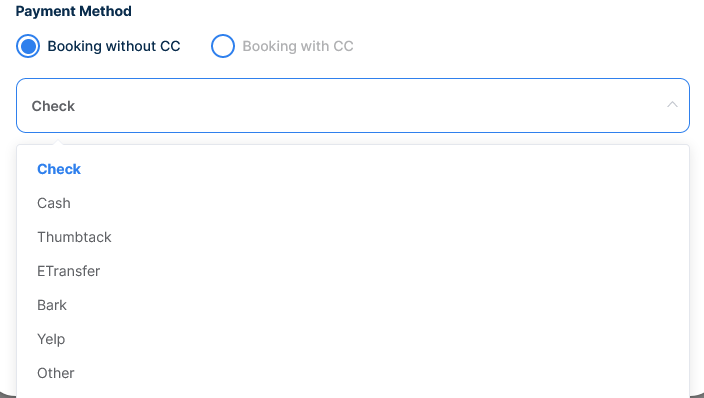
Select the payment method, with or without Credit Card
-
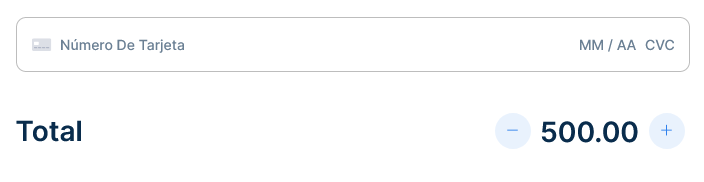
If the payment method is with Credit card: Add the billing information.
-
Click Complete Booking to complete the booking

-
If the payment method is without Credit Card: select the payment source
-
And click the button to finish the booking

How to filter bookings
By date
-
Click on Booking → Bookings
-
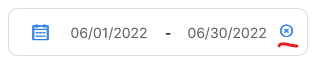
Click on the date interval field to display a calendar view

-
Select the date range or choose form the 5 pre-established date ranges

-
To unset the filter click the x on the right
By teams
-
Click on Booking → Bookings
-
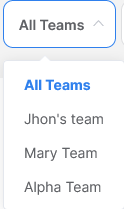
Click on the Teams drop down list on the top right corner
-
Select one of the teams
By unassigned
-
Click on Booking → Bookings

-
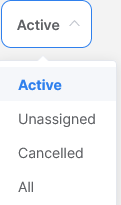
Click on the drop down list on the top right corner

-
Select the Unassigned option
By Cancelled
-
Click on Booking → Bookings
-
Click on the drop down list on the top right corner
-
Select the Cancelled option
By Active
-
Click on Booking → Bookings
-
Click on the drop down list on the top right corner
-
Select the Active option
By Customer Name
-
Click on Booking → Bookings
-
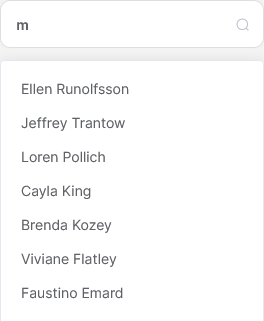
Click on the search bar on the top right corner

-
Type the customer name or part of it, suggestions will appear
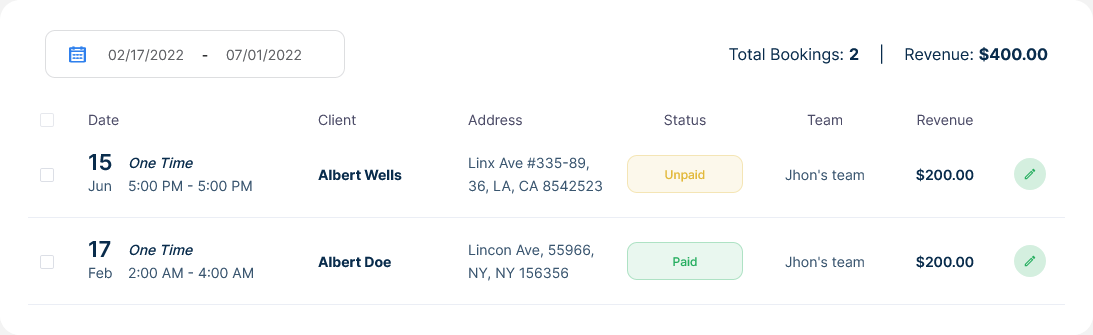
How to sort bookings
-
Click on Booking → Bookings
-
Click on the following columns title to sort its content, the sortable columns are Client, Status and Team
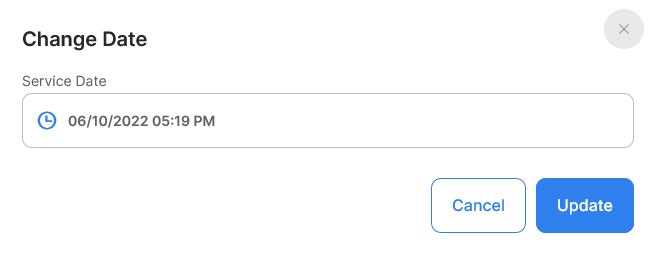
How to change the date and time of a booking
-
Click on Booking → Bookings
-
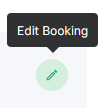
Click on edit booking
-
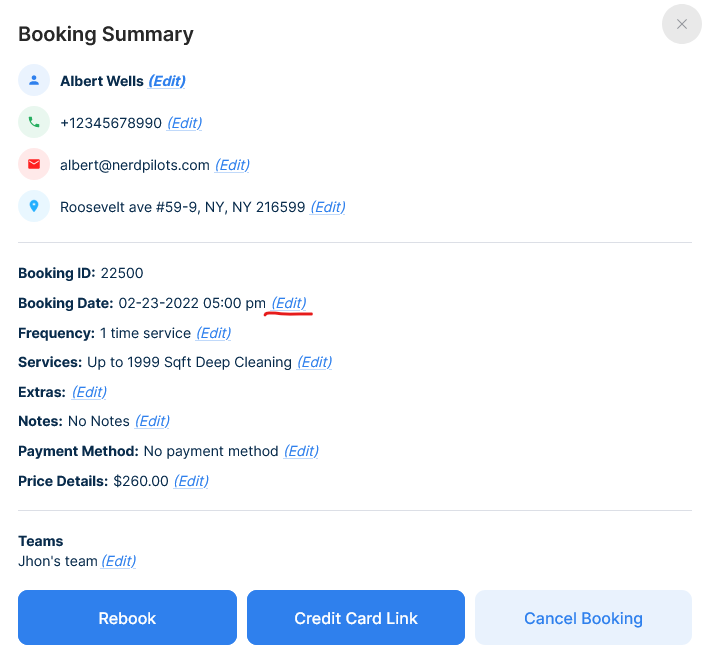
A popup with the booking information will appear

-
Look for "Booking Date" and click on the edit link, a popup will appear
-
Click the dale to reveal the calendar, Select the new date and/or change the time
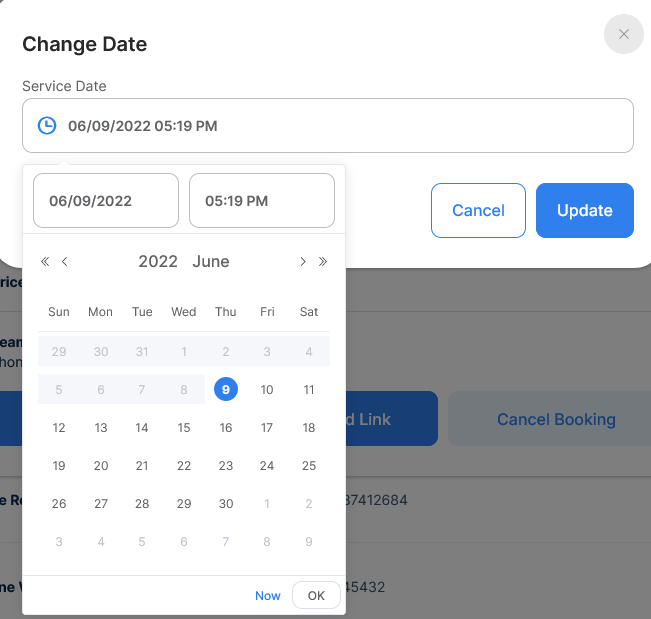
-
Click update to save the new date and time
Booking statuses
Unpaid
This status means the booking is pending to be marked as paid

Paid
This status means the booking is completed and paid

Upcoming Hold
This status means the booking is pending for authorization
Charge
This status means the booking is ready to be charged, in other words, is available for capture

Charged
This status means the booking was successfully charged and completed
Hold CC
This status appears when manual hold is turned on in the Payment Settings It means you can manually hold the CC

Hold Failed
This status means there was not enough funds on this card to cover this transaction. Please get in touch with your client to use another payment method or try again later.
Reopen
This status means the booking was cancelled and it's available to be reopened.

Reopen man
This status means the manual booking was cancelled and it's available to be reopened.
How to charge a card/client/booking
-
Go to the menu Booking → Bookings
-
Click on the charge button, a popup will appear
-
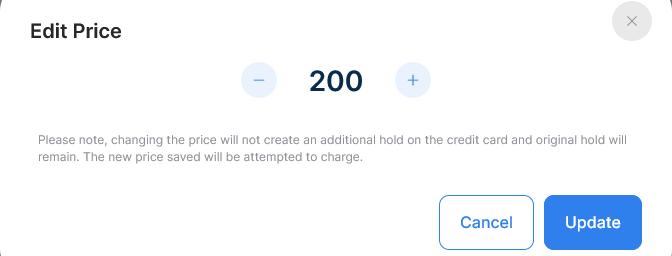
Click the + and - buttons to adjust the amount or double click the amount to change it using the keyboard

- Click save to save the amount and not charge the card
- Click charge to save the new amount charging the card in the process
How to add a team to a booking from the booking list
-
Click on Booking → Bookings
-
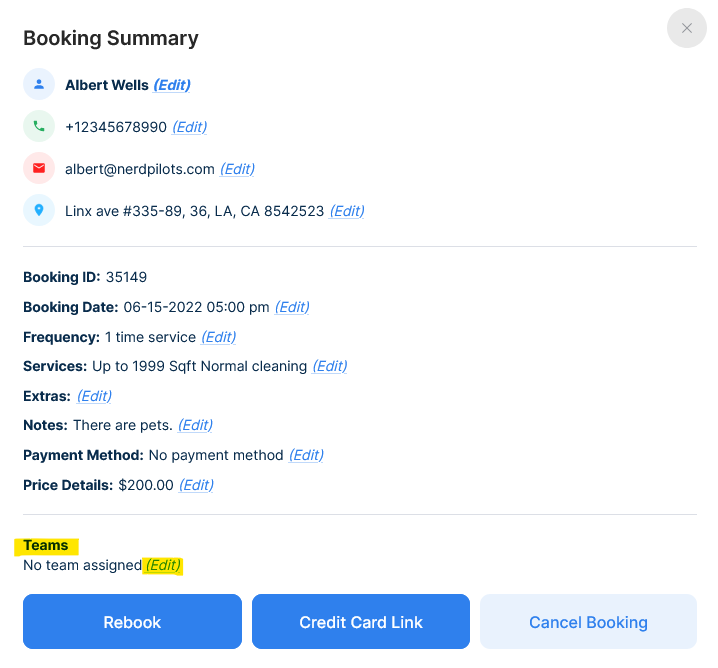
Click the edit booking button

-
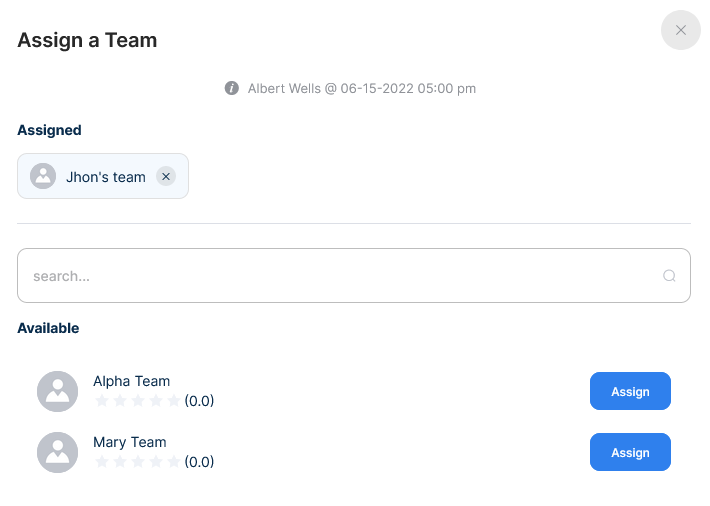
A popup will appear, look for the the "Assigned teams" hover over it and click "Edit"
-
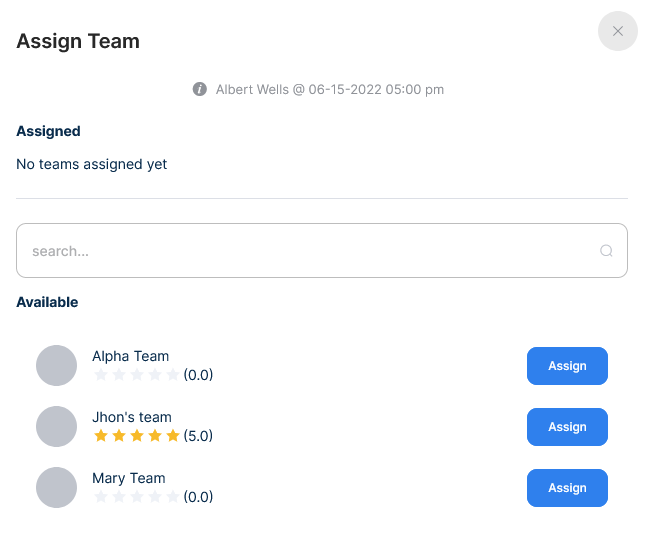
Another popup will appear, select the team you want to assign and click "Assign"
-
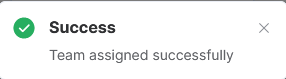
A confirmation message will appear
How to add a team to a booking from the calendar
-
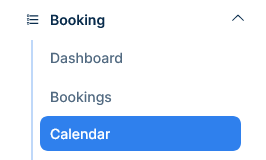
Go to Booking → calendar
-
Select a booking by clicking on it, then a popup will appear
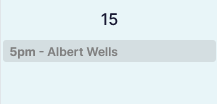
-
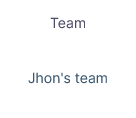
Look for the "Assigned to" section, hover over it and click "Edit"
-
Another popup will appear, select the team you want to assign and click "Assign"
-
A confirmation message will appear
How to remove a team to a booking from the booking list
-
Click on Booking → Bookings
-
Click on the Team's name in the corresponding row
-
A popup will appear. Click on the X beside the teams's name
-
A confirmation message will appear

How to remove a team to a booking from the calendar
-
Go to Booking → calendar
-
Click on a Booking, a popup will appear
-
Click "Edit" on the Teams section
-
Another popup will appear, click on the X beside the teams's name
How to edit a booking
-
Click on Booking → Bookings
-
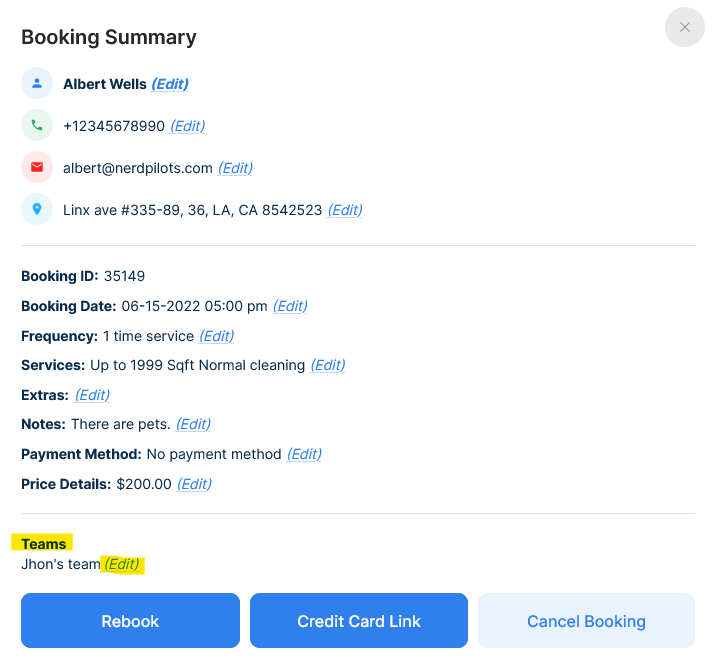
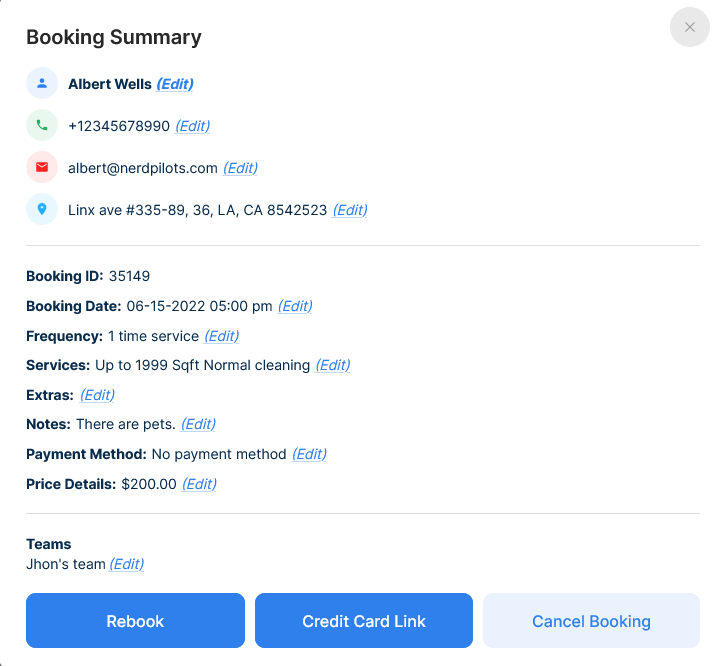
Click the Edit button to open a popup with the Booking Summary
-
To modify a specific section just click the edit link shown.
-
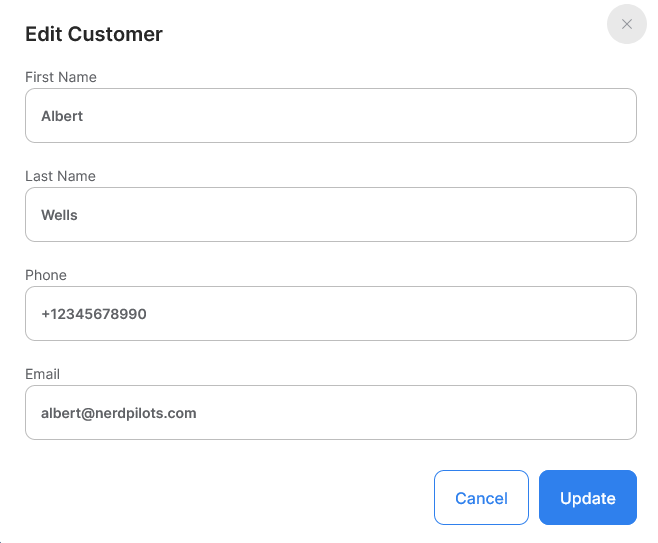
When clicking on it a popup will appear and it will contain the editable fields
-
edit what you must and click update

-
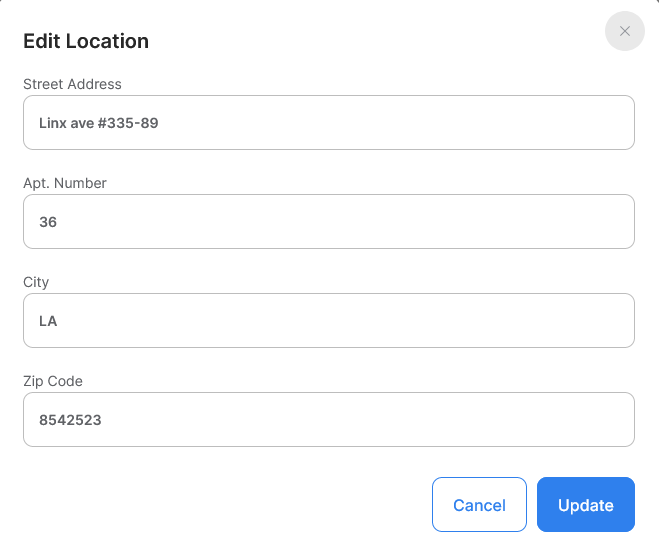
You can also edit the Service Location
-
Booking Date

-
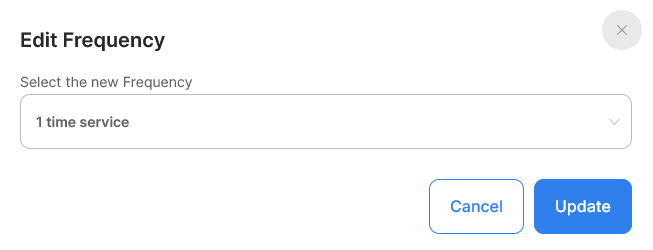
The frequency
-
The Services and Extras
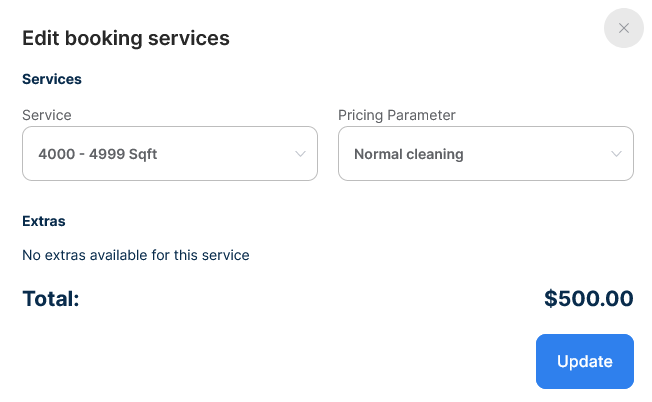
-
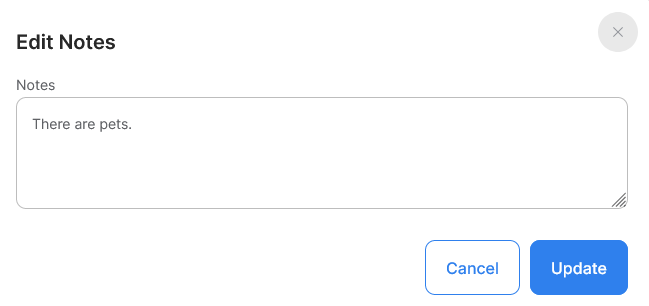
Notes
-
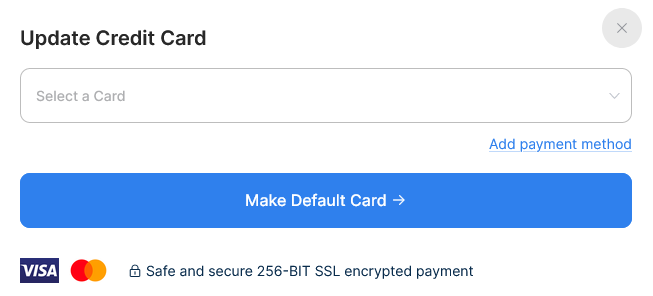
Payment Method
-
Price Details
-
and Teams
How to pre-select parameters to the booking form via URL
You may tell the ConvertLabs booking form which Service, Frequency, or other parameters to pre-select before the form loads by adding specific key-value pairs (called query string parameters) to the URL of your Booking page.
This is an example of how a URL would look when a parameter is set:
https://www.YourWebsite.com/?promo_code=Sales40You can use multiple parameters at once by adding & between each parameter:
https://www.YourWebsite.com/?promo_code=Sales40&service_id=40Here are the query string parameters that you may use:
| Parameter | Value | Example |
|---|---|---|
first_name |
text | ?first_name=John |
last_name |
text | ?last_name=Doe |
email |
valid email address | ?email=fake@email.com |
phone |
valid phone number | ?phone=+12345678990 |
street_address |
text | 418 Rhapsody Street ENVILLE Tennessee* |
apt_number |
number | ?apt_number=26 |
city |
text | ?city=Tennessee |
selected_state |
state code number | ?selected_state=68 |
service_id |
number | ?service_id=40 |
pricing_parameter[group_id]=pricing_id |
number | ?pricing_parameter[5]=60 |
frequency_id |
number | ?frequency_id=2 |
selected_date |
YYYY-MM-DD | ?selected_date=2002-05-20 |
promo_code |
text | ?promo_code=Sales40 |
Important note on street_address
*If the text has spaces replace them with %20
https://www.YourWebsite.com/?street_address=418%20Rhapsody%20Street%20ENVILLE%20TennesseeHow to remind the teams about a booking or bookings via email
-
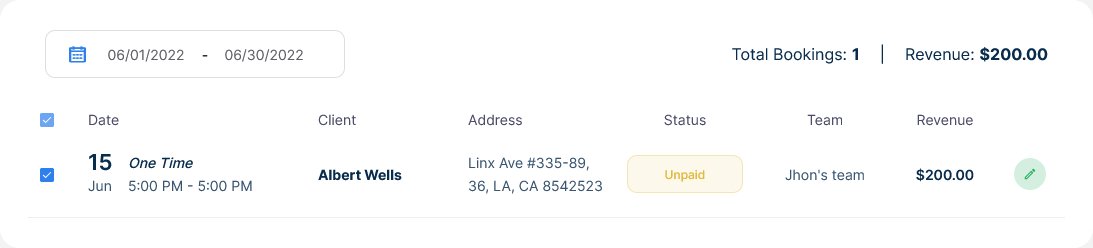
Click on Booking → Bookings
-
Select 1 or many Bookings to be reminded of by clicking the checkbox at the beginning of each row
-
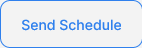
Now click the "Send Schedule" button in the top right corner
-
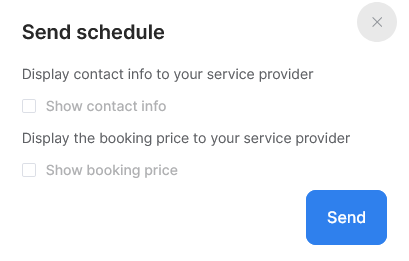
A popup will appear
-
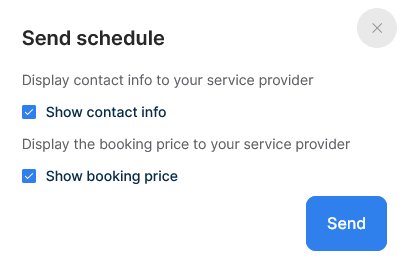
Select the information you wish to appear on the schedule email
-
And click the "Send Booking Schedule" button, an email with the details will be sent to the corresponding teams
